Prerequisites
- Any Media Library Organizer Pro license
Overview
Settings are used to:
- Define the Imagga Authorization Code, to allow images to be automatically categorized
- Determine the minimum confidence level required for a category to be assigned to an image
In the WordPress Administration interface, click on Media Library Organizer > Settings
Settings
Clicking the Auto Categorization tab allows you to define the following settings:
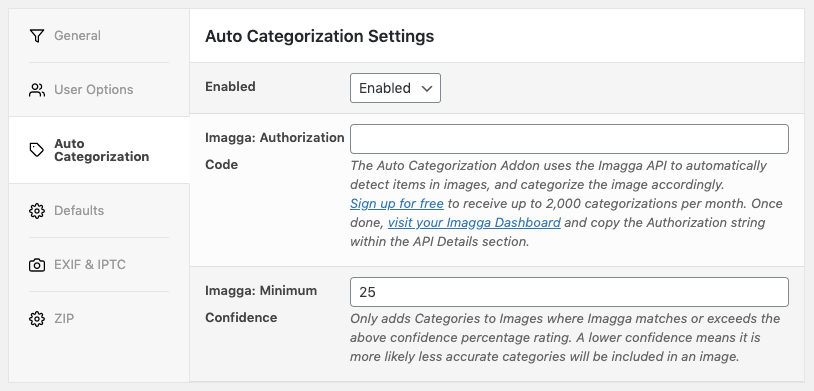
Enabled
For Auto Categorization to work, select Enabled from the Enabled option.
Imagga: Authorization Code
To allow Auto Categorization to automatically categorize images, you must obtain an authorization code from Imagga – a free, third party image detection service:
- Visit https://imagga.com/auth/signup
- Complete the fields
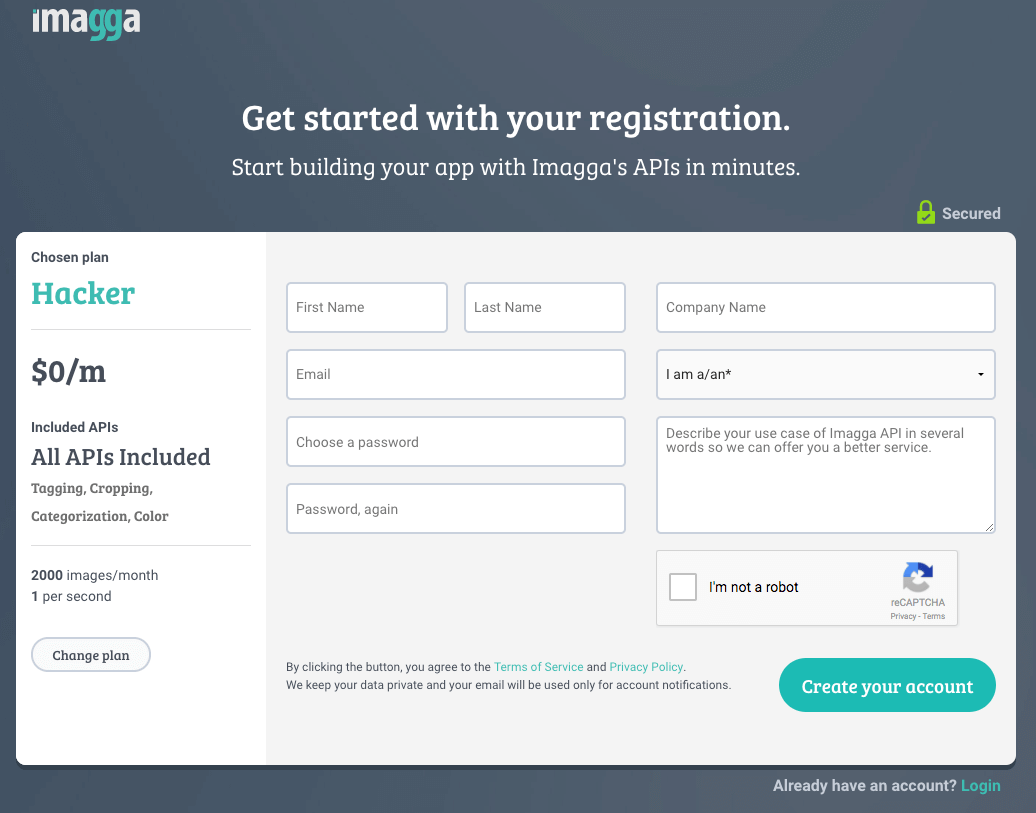
- Click the Create your account button
- Click Continue to my dashboard
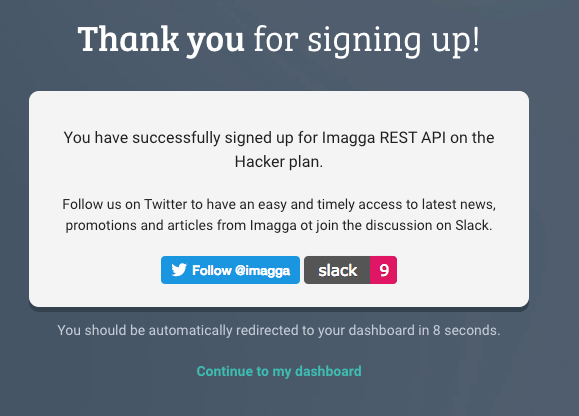
- Copy the Authorization code in the black box
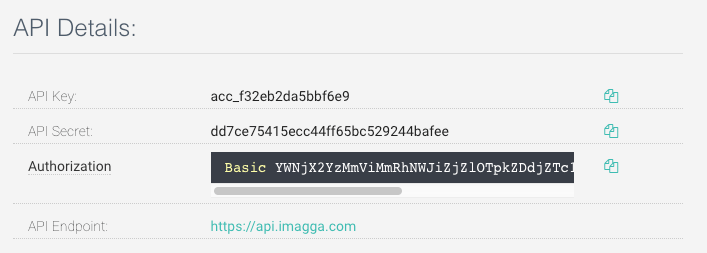
- Paste the Authorization code in to the Setting’s Imagga: Authorization Code field within your WordPress installation.
Imagga: Minimum Confidence
Each Category determined in an image by Imagga will have a confidence rating percentage, between 0 and 100. The higher the rating, the more confident that the Category is accurate.
Choosing a higher percentage will result in fewer categories being detected for an image, with those categories having a greater accuracy.
Choosing a lower percentage will result in more categories being detected for an image, with some categories having a potentially lower accuracy.
Taxonomy
The Taxonomy field determines which Taxonomy to store the Term(s) in.
By default, this will be Media Library Organizer’s built in Media Categories Taxonomy, but if you’ve added other Taxonomies through the Taxonomy Manager, you’ll be able to choose them here.
Store Categories within Auto Categorization Category?
If enabled, Categories created and assigned to Images are stored within a top level “Auto Categorization” Category. This is useful if you prefer to group Categories.
Save
Once you have made changes to the settings, click the Save button.
On screen confirmation will display to confirm that the settings have been updated.