Prerequisites and Setup
- Media Library Organizer
- Follow the Setup Documentation to enable the Tree View
Overview
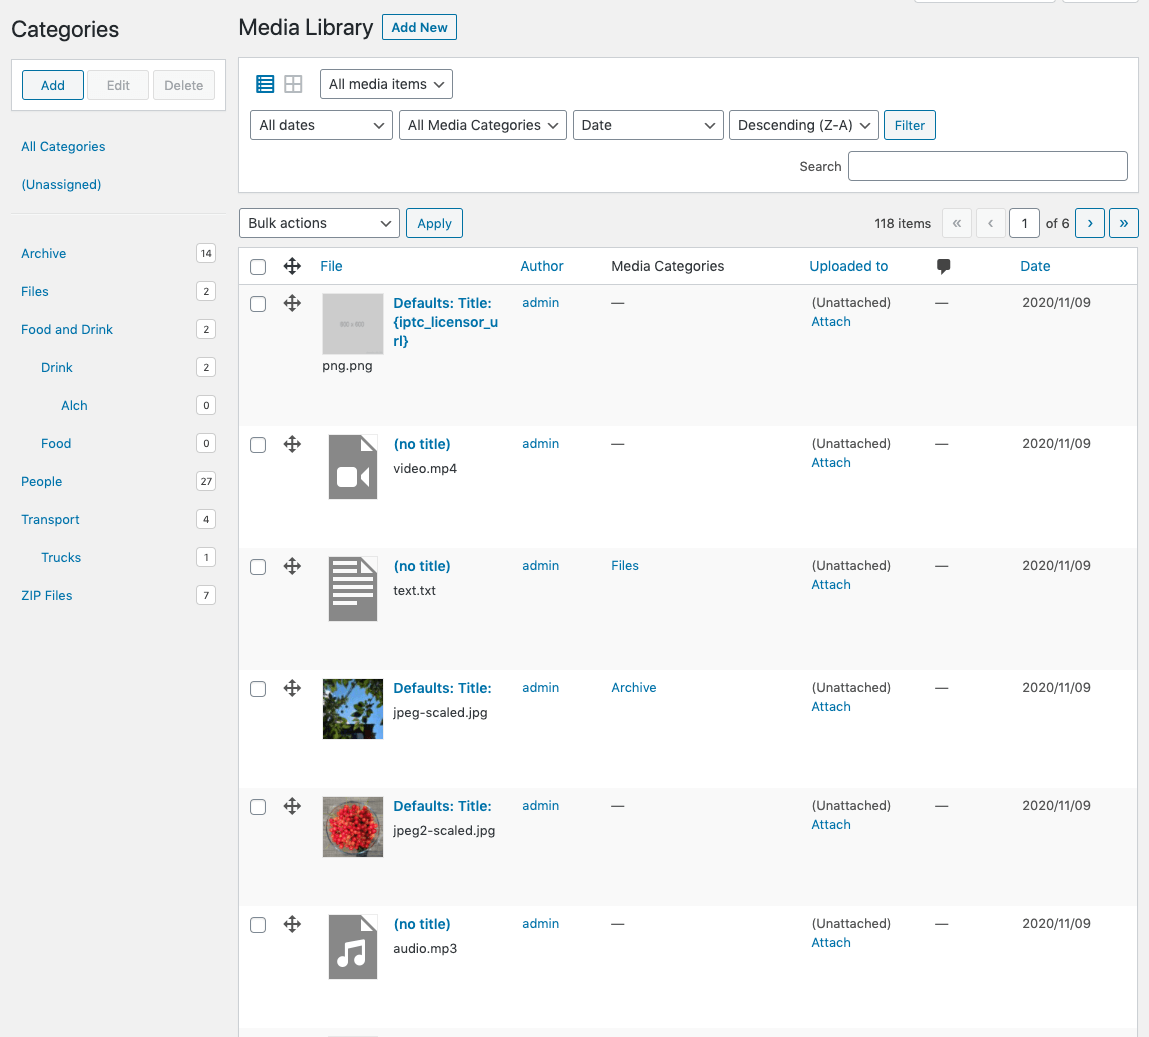
When browsing the WordPress Media Library at WordPress Admin > Media, the Tree View will display a left hand sidebar comprising of your existing Categories, and options to add, rename and delete Categories
Add Category
To add a new Category:
- Click the Add button
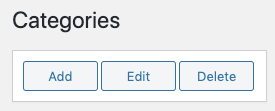
- Enter the name of the Category

- Click OK
Add a Subcategory
To add a new subcategory:
- Click the Category (or subcategory) you want to create a subcategory within
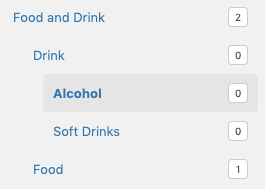
- Click the Add button
- Enter the name of the Sub Category
- Click OK
Alternatively, you can:
- Right click the Category (or subcategory) where you want to create a Subcategory
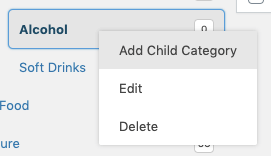
- Click the Add Child Category option on the context menu that appears
- Enter the name of the Sub Category
- Click OK
Rename Category or Subcategory
To rename an existing Category, either:
- Click the Category or Subcategory
- Click the Edit button
- Change the name of the Category or Subcategory
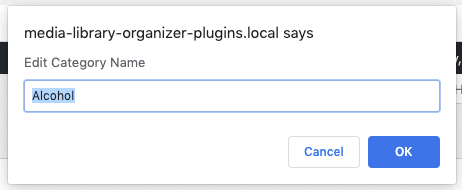
- Click OK
Alternatively, you can:
- Right click the Category or Subcategory
- Click the Edit option on the context menu that appears
- Change the name of the Category or Subcategory
- Click OK
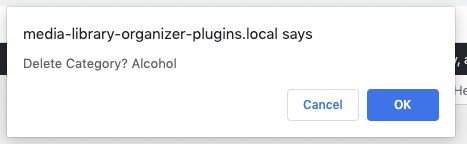
Delete Category or Subcategory
To delete an existing Category:
- Click the Category or Subcategory
- Click the Delete button
- Click OK to confirm the deletion
Alternatively, you can:
- Right click the Category or Subcategory
- Click the Delete option on the context menu that appears
- Click OK to confirm the deletion
Deleting a Category will not delete any Media Library items associated with it. If you delete a Category that has Sub Categories, those Sub Categories will become Categories